
Our balloon garland experts have shared their personal tips and steps on how you can create a balloon garland for your next event. Creating a balloon garland is a fun and festive way to decorate for parties and events when you’re on a budget.
Materials:
- Balloons in various colors and sizes
- Balloon pump
- Balloon decorating strip (a plastic strip with pre-spaced holes to attach balloons)
- Command hooks or other hanging materials
- String or fishing line
- Double-sided tape
- Glue dots or hot glue gun (optional)
Step 1: Choose Your Balloon Colors and Sizes
Decide on the color scheme and sizes for your balloon garland. It’s common to have 2 to 4 different colors, with a variety of balloon sizes ranging from 5-inches to 18-inches.
Step 2: Inflate Balloons
Using a balloon pump, inflate the balloons to the desired sizes. Make sure to inflate some balloons slightly smaller to add dimension to the garland. If the balloons are going outdoors on a hot summer day, you also need to take that into consideration when blowing them up.
Step 3: Prepare the Balloon Decorating Strip
Unroll the balloon decorating strip to your desired length. These strips usually have small holes to insert the balloons. If your strip doesn’t have holes, you can use glue dots or hot glue to attach the balloons.
Experienced balloon artists will tie several balloons together to build clusters.
Step 4: Start Adding Balloons
Begin adding the balloons to the strip. Insert the tied end of each balloon into the pre-spaced holes or use glue dots to attach them. Leave some empty space at both ends of the strip to make it easier to hang.
Step 5: Create Balloon Clusters
Instead of placing balloons in a straight line, create clusters by grouping 3-5 balloons together. This will give your garland a fuller and more organic look. This will ultimately create the best look for the balloon garland.
Step 6: Vary Balloon Sizes and Colors
As you add balloons, vary the sizes and colors to create a visually appealing garland. This randomness will make the garland look more organic and lively.
Step 7: Secure the Ends
Once you’ve reached your desired length, secure the ends of the balloon garland by tying the strip or using tape. If there’s excess strip, you can trim it.
Step 8: Hang the Balloon Garland
Attach the balloon garland to your chosen location using command hooks or other hanging materials. If the garland is long, you might need assistance in hanging it evenly.
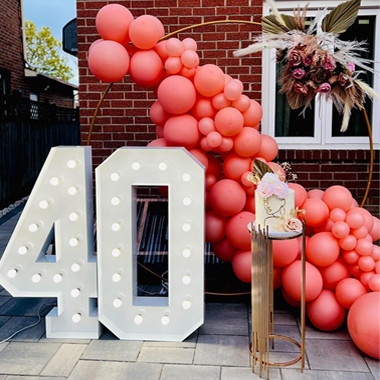
Stand back and admire your beautiful balloon garland! It’s now ready to be a focal point of your party, or you can pair it with our marquee letter or marquee number for a grander look! When attaching a balloon garland to our light up numbers, we recommend using 3M Command Strips.
Remember, the key is to be creative and have fun with the process!